
 English
 中文简体
中文简体The Importance and Challenges of Marine Anchors Marine anchors are essential components in the operation of vessels, playing a critical role in ensuring the stability and safety of ships while they ar...
READ MORE



Sep 02, 2026
The last twenty feet of a boat trip cause more damage than the previous twenty miles. Pilings, dock edges, and neighboring hulls do their worst work at idle speed, which is why proper docking depends less on horsepower and more on preparation, restraint, and dependable hardware. The formula that works: rig fenders and dock lines before you turn toward the pier, approach against the wind and current at walking speed, kill your momentum with reverse instead of relying on distance, and tie up with four lines led through solid cleats. Get that sequence right and the maneuver loses most of its stress, along with most of its repair bills.
Content
Good docking starts well before the breakwater comes into view. Hang fenders on the side that will meet the dock, set at the height where the pier or piling actually sits rather than where it looks from the helm. Rig bow and stern lines on both sides if wind direction is uncertain, coil them neatly, and lead them outboard under the lifelines so a crew member can drop them over or hand them ashore without snagging.
Check the attachment points while you are at it. A deck cleat with a cracked weld, a missing backing plate, or a heel that rocks under hand pressure is a failure waiting for a load, and a docking maneuver is exactly when that load arrives. This is also the moment to assign roles: one person ready with the bow line, one with the stern line, and nobody asked to jump onto the dock holding a rope.
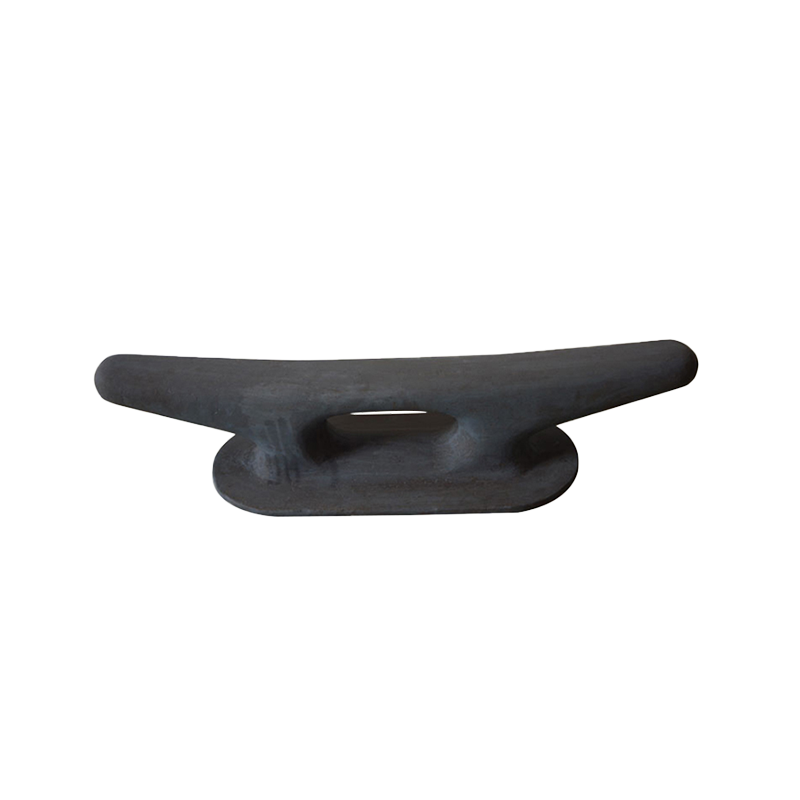 Bollard CleatWith good tensile strength, it can work stably in high-load environments to ensure safe mooring of ships. Its solid structure and protruding design at both ends allow ...View Product →
Commercial operators treat cleats and bollards as load-rated gear rather than deck decoration, and private owners benefit from the same mindset. If a fitting moves under hand pressure, it will not hold a hull against an overnight gust, no matter how well the lines are tied.
Speed is the variable that ruins everything else. Approach at walking speed or slower, keeping in mind that a boat idling in gear already moves faster than most helmsmen expect. The professional habit is burst-and-coast: a two-second touch of throttle to restore steerage, then back to neutral so the hull glides. A rudder only bites when water flows past it, so a boat stopped dead drifts like a raft — you need intermittent power, not constant power and not none.
In calm conditions, an approach of roughly 20 to 45 degrees toward the dock suits most single-screw boats, and the angle flattens toward parallel as wind or current builds. The sequence usually runs like this:
Approach from the upwind or up-current side whenever conditions allow, so the elements slow you down instead of pushing you onto the dock faster than planned. Wind blowing you off the dock calls for a slightly steeper angle and a touch more power, because you are working against it the whole way in. Wind pinning you onto the dock is the friendlier case: come in nearly parallel and let it set the hull down gently. In tidal water, read the set the same way you read wind — by how other boats lie at their moorings and by the ripples against pilings — because a two-knot current can shove a light boat sideways faster than idle power can correct it.
Once the hull is alongside, docking becomes load management. A single bow line looped over a piling is a suggestion, not a mooring. A boat left for more than a few minutes needs four lines, each one controlling a direction of movement.
| Line | Runs From | To | What It Controls |
|---|---|---|---|
| Bow line | Bow cleat | Dock cleat forward | Bow swinging away from the dock |
| Stern line | Stern cleat | Dock cleat aft | Stern swinging away from the dock |
| Forward spring | Bow cleat | Dock cleat aft | The boat sliding forward along the pier |
| Aft spring | Stern cleat | Dock cleat forward | The boat sliding aft along the pier |
Springs earn their keep wherever the tide range is noticeable, because a boat that rises and falls a meter or two will work a simple bow-and-stern arrangement loose. Lead lines through chocks or fairleads wherever the deck layout allows; a line sawing back and forth over a toerail or gunwale edge chafes through far faster than most owners expect. For securing, a cleat hitch — one full turn under the horn, a figure eight, and a locking half-turn tucked under itself — holds firmly and releases cleanly even after a loaded night. Skip knots that jam under load, keep hands clear of the bight, and remember that crew step on a loaded line to slow it; fingers never go between a line and a cleat or piling.
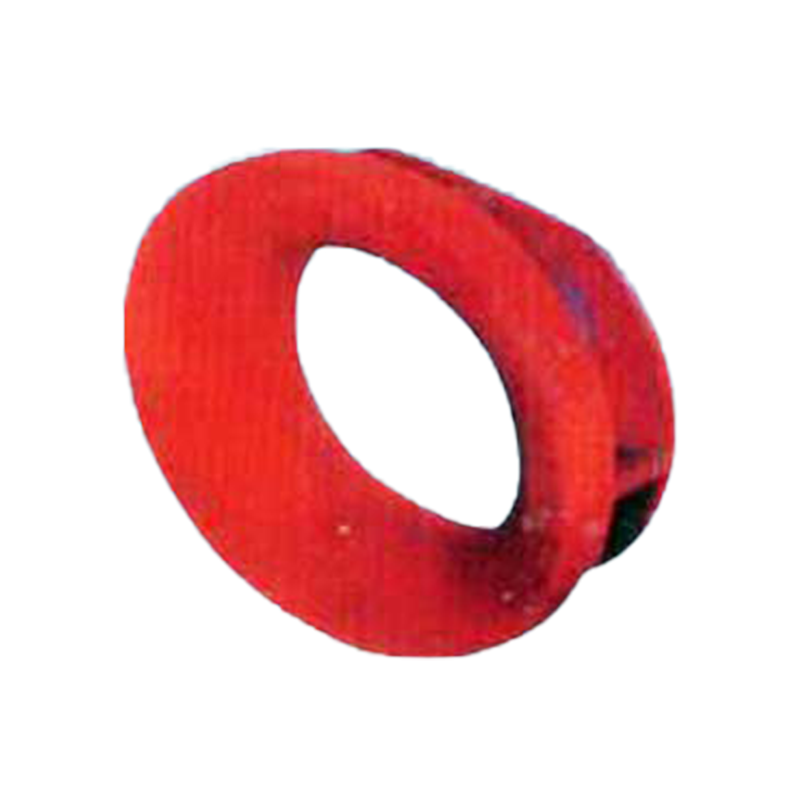 YF-Mooring ChockYF-mooring chock JIS F 2007-1976 has models ranging from 150 to 500 to meet the needs of different ships, and weights ranging from 15.1 kg to 115 kg, which can adapt t...View Product →
Mooring chocks and fairleads exist precisely for this job: they hold lines in a fixed, low-friction path as the boat surges and yaws, protecting both the line and the deck edge it would otherwise chew on.
Coming alongside an open pier is the forgiving version of the maneuver: shallow angle, a burst of reverse, bow line ashore, done. A slip demands more precision because the space is narrow on both sides and there is no room to correct a bad entry once you are halfway in. The commitment decision belongs at the slip entrance, not inside it. Center the boat between the finger piers, keep the speed at a crawl, and have both bow and stern lines ready before you enter.
Many experienced operators back into slips on purpose. Going in stern-first keeps the propeller and rudder — the parts that actually steer — at the working end of the maneuver, and it leaves the bow pointed at open water for an easier departure. Prop walk becomes an asset here once you know which way your stern swings in reverse and plan the entry around it. Once in position, run lines to cleats on both finger piers so the hull is held from four directions instead of two, leaving slack for the tide if the slip is tidal.
Not every stop needs a pier. In crowded roadsteads and protected anchorages, picking up a mooring buoy is often faster, cheaper, and easier on the hull than easing into a shared dock. The approach mirrors a docking run: head into the wind or current at idle speed, station a crew member on the bow with a boat hook, and slide past the buoy close enough to grab its pickup pennant. Run a line through the buoy's ring and cleat it off on the bow; tying only to the pennant leaves the boat on a part that is neither rated nor meant to take a hull overnight.
What holds that buoy on station below the waterline is a permanent mooring system — a heavy anchor or sinker, a length of chain, and connecting hardware sized for the largest vessel the buoy is designed to serve. It is the same logic that governs docking gear, just buried where nobody sees it until it fails. To place this technique in its wider context, the difference between anchoring and mooring is worth a proper read, because the two share hardware yet follow different rules.
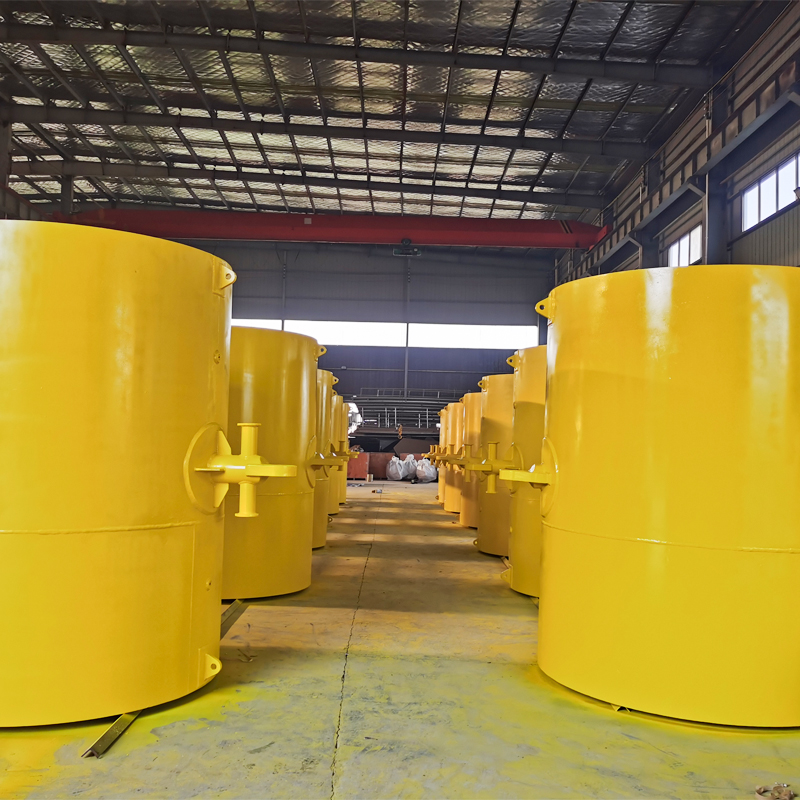 Marine Steel Cylindrical Buoy SuppliersHigh-quality steel is used, which has good corrosion resistance and can effectively resist the erosion of salt water and moisture in the marine environment. The surfac...View Product →
Most docking damage traces back to a short list of habits:
None of these are skill problems; they are sequencing problems, and each one is solved by slowing the approach down and finishing the tie-up before anyone relaxes.
Proper docking is a routine, not a talent. Rig the gear early, approach slowly against the elements, stop the boat with reverse instead of distance, and tie up with four lines through dependable hardware. Practice the same sequence at an empty pier or a friendly buoy until it feels boring — that is the point at which it works when it counts.
The hardware half of that routine falls under what the marine industry calls outfitting parts: cleats, chocks, fairleads, bollards, and the chain and shackles that connect them. Quality differences in this category surface after a season or two of salt, load cycles, and sunlight, so it pays to choose rated equipment once instead of replacing it every year.
The Importance and Challenges of Marine Anchors Marine anchors are essential components in the operation of vessels, playing a critical role in ensuring the stability and safety of ships while they ar...
READ MOREStability Challenges of Aquaculture Equipment: Why Are Aquaculture Mooring Anchors So Important? In modern aquaculture, especially offshore or offshore aquaculture, equipment stability is the cornerst...
READ MOREThe Role of a PE Yacht Anchor in Enhancing Mooring Stability The stability of a yacht in rough waters is influenced by various factors such as wind, waves, and currents. One of the most critical eleme...
READ MOREWhat materials are used for steel spherical buoys, and what are their structural advantages? As a key component of marine and inland navigation systems, the structural design and material selection of...
READ MORE
Copyright © Nantong Yangfan Marine Equipment Co., Ltd. All Rights Reserved.
